From the Event screen, you can:
Clicking the Courses tab will display further information for all of the courses that are associated with the event.

The Course Details tab is displayed when you select an individual course under the Courses tab.

The fields on the Course Details tab are described in the following table.
| This field | Holds this information... |
|---|---|
| Course | The course code of the selected course. |
| Description | The description of the selected course. |
| Type | The type of the selected course. |
| Status | The status of the selected course. |
| Group Code | The course group for the event to use. Select the required group code from the drop-down list. |
The Course Details tab also displays the date and time information of the selected course and this can be edited to allow for date and time to differ from the event itself.
To edit the date and time information:
-
In the Date/Time Information section, double-click in the field you want to edit and type in the new data.

-
Click the Save button to save the event.

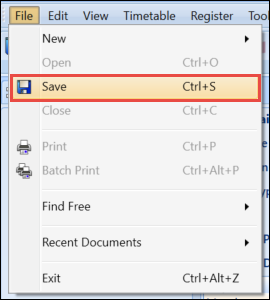
You can also save the event by selecting the Save option in the File option menu.

Clicking the Staff tab will display the register slots for the staff members attached to the register. Here you can view and enter marks for the staff member(s).

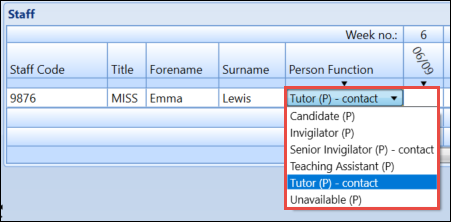
You can also change the person function for the staff member by selecting the required person function from the drop-down list. These are defined in the Person Functions reference data.

The associated person function will define whether the timetabled hours should be contact or non-contact for use in utilisation data. This can also be viewed on the Information tab on the timetable statistics screen.
The Staff Details is displayed when you select an individual staff member under the Staff tab.

The fields on the Staff Details tab are described in the following table.
| This field | Holds this information... |
|---|---|
| Staff Code | The staff code of the selected staff member. |
| Forename | The forename of the selected staff member. |
| Surname | The surname of the selected staff member. |
| Title | The selected staff member’s title. |
| Person Function |
The person function assigned to the selected staff member. This can be changed by selecting the required person function from the drop-down list. |
The Staff Details tab also displays the date and time information of the selected staff member and this can be edited to allow for the date or time to differ from the event itself.
To edit the date/time information:
-
In the Date/Time Information section, double-click in the field you want to edit and type in the new data.

-
Click the Save button to save the event.

You can also save the event by selecting the Save option in the File option menu.

Clicking the Rooms tab will display the register slots for the rooms attached to the register. Here you can view and enter marks against the room(s).

You can also change the layout for the room by selecting the required room layout from the drop-down list.

The Room Details is displayed when you select an individual room under the Room tab.

The fields on the Room Details tab are described in the following table.
| This field | Holds this information... |
|---|---|
| Room Code | The room code of the selected room. |
| Description | The description of the selected room. |
| Room Type | The type of the selected room. |
| Room Layout |
The layout of the selected room. This can be changed by selecting the required layout from the drop-down list. |
| Capacity | The number of people the room can hold. |
The Room Details tab also displays the date and time information of the selected room and this can be edited to allow for the date and time to differ from the event itself.
To edit the date and time information:
-
In the Date/Time Information section, double-click in the field you want to edit and type in the new data.

-
Click the Save button to save the event.

You can also save the event by selecting the Save option in the File option menu.

Clicking the Learners tab will display the register slots for all learners attached to the register. Here you can view and enter marks for the learner(s).

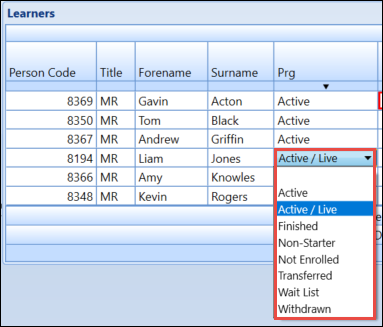
You can also change the progress code of a learner using the Prg drop-down list.

Changing the progress code of a learner on a register will only update the progress code for the register, not the enrolment itself. Any changes made to the progress code at enrolment level will also update the register.
Below the Learners tab you can select the individual courses associated with the register. This will display only the learners enrolled on the selected course.

On each event there is a Not on course/group tab below the Learners tab. This will display any learners that are on the event but not enrolled onto an associated course or group.
